Sentry for Web Application Monitoring: Setup
In this post I’m focusing mainly on how to set up an application to use Sentry for application monitoring. First, let’s introduce Sentry to give some context.
What is Sentry?
Sentry is a software platform that helps developers monitor and fix errors in their applications. Sentry provides real-time feedback, crash reporting, performance monitoring, and user feedback tools. Sentry can integrate with various programming languages, frameworks, and services, such as Python, JavaScript, React, Django, AWS, and Slack.
Sentry Alternatives?
Some of the common competitors of Sentry are Bugsnag, Rollbar, Airbrake, and Raygun. These platforms offer similar features and functionality to Sentry, but they may differ in pricing, support, scalability, and customization options. Developers should compare and evaluate these platforms based on their specific needs and preferences.
Creating an Account + Adding Application
Create an account at https://sentry.io/signup/
- I used Google SSO here
- Note: an “Organization” is required for signup. You can just use your name.
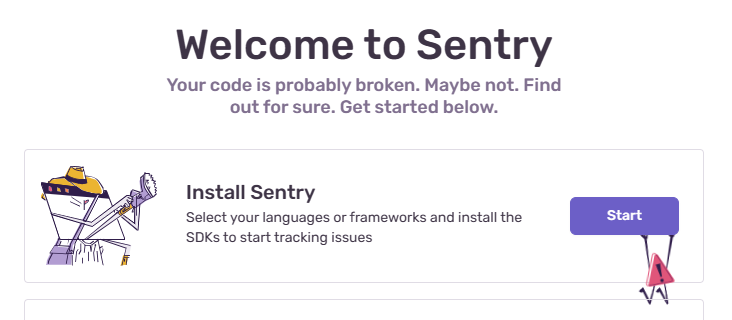
- The welcome screen has large button to Start
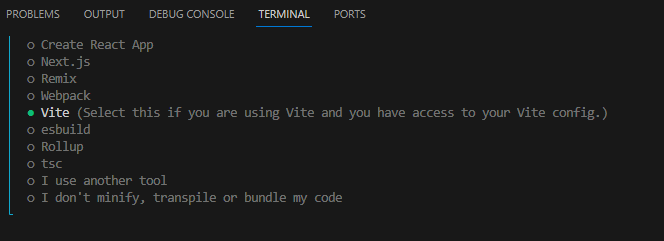
Select the Platform Type (here, I’m deploying a React app, but all the popular frameworks are supported)
Sentry then provides sample code specific to the application’s framework
Add Env Variable
Add Sample Code
I added a route and component to call a sample error

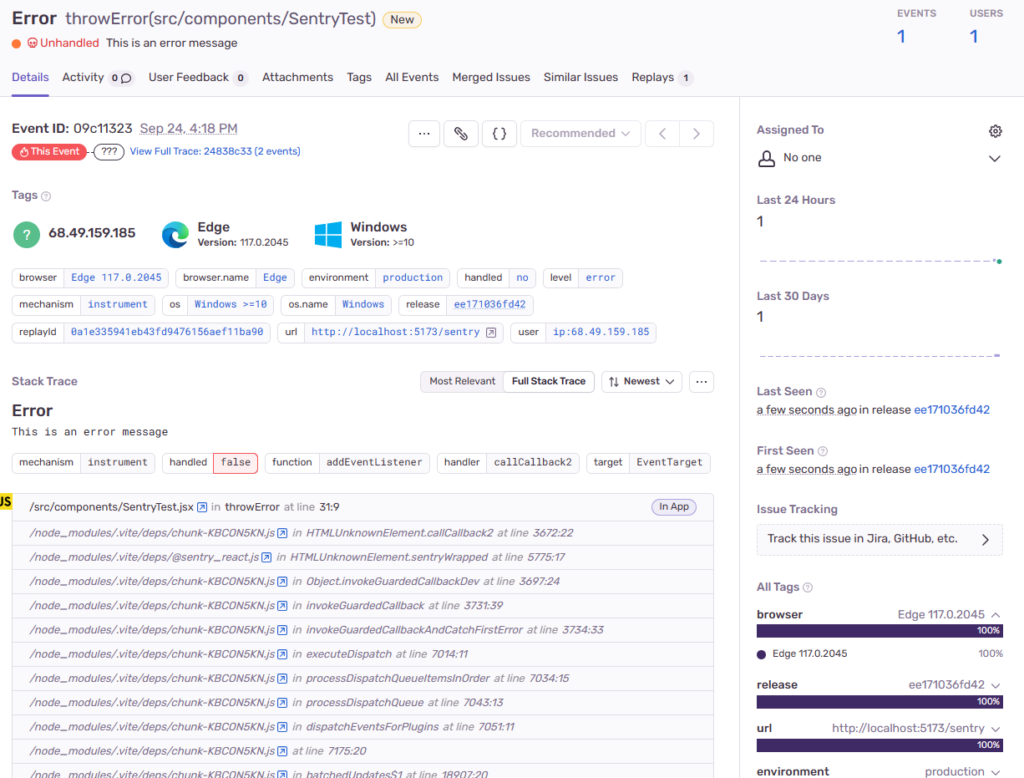
Verify Error is Visible in Sentry Dashboard
I verified the error is visible in the Sentry console