Deploying React App with Vercel and Vite

If you’re building a React application, you may be familiar with tools like Create React App or Next.js for setting up your development environment and deploying your app. However, there’s a newer alternative that’s gaining popularity: Vite. Vite is a build tool that promises faster development and build times, thanks to its use of native ES modules and a blazing-fast development server.
In this blog post, we’ll explore how to use Vite to build a React application, and how to deploy it to Vercel, a cloud platform for serverless deployment. We’ll see how Vite’s speed and simplicity can make our development workflow more efficient, and how Vercel’s seamless deployment process can make it easy to get our app up and running in production.
Determine Which Application to Deploy
This tutorial explores the steps involved with serving an existing React application that was built with Vite. Here is a sample repository: davidinwald/liveable: exploring a more “liveable” UI (github.com) or you can create your own Vite React app like this:
npx create-vite@latest my-react-app --template react
Regardless of the application source, a repository is needed for the CI/CD pipeline. In this example I’m using Github, but Gitlab or other git-based repositories can be used with Vercel.
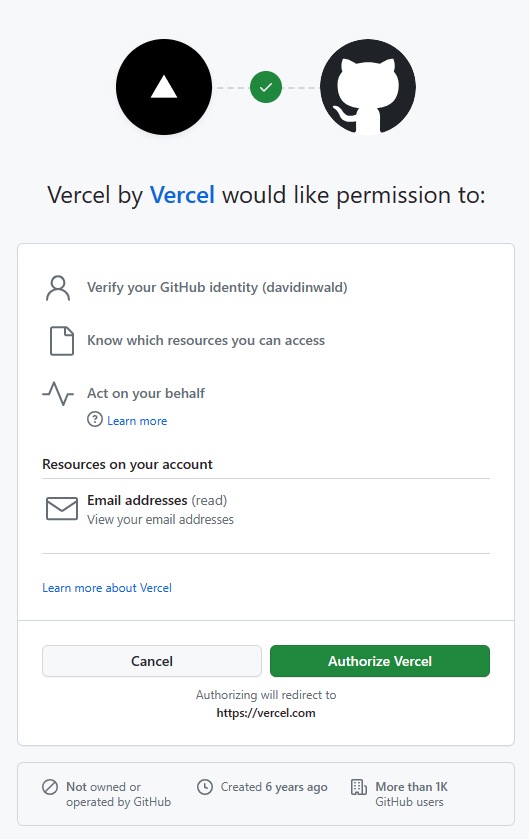
Create Vercel Account


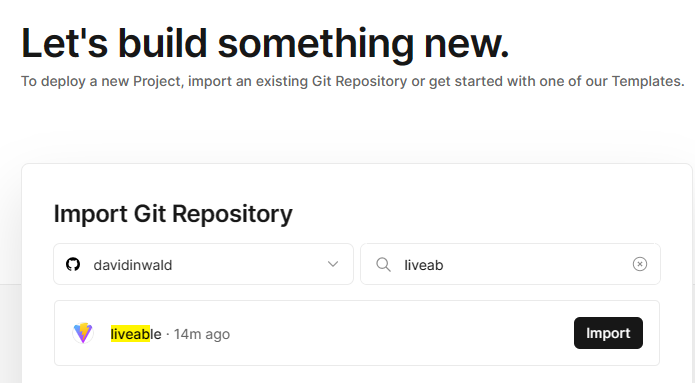

- Here, the Vite Framework Preset was selected automatically, but select framework if not correct
- The root directory should be updated if the application is served out of anything other than the root directory.
- It is likely helpful to set Environment Variable values now too (tokens, configurable values, etc).
- Once options are set, click “Deploy” button
The “Congratulations” screen is visible when the deployment has succeeded.
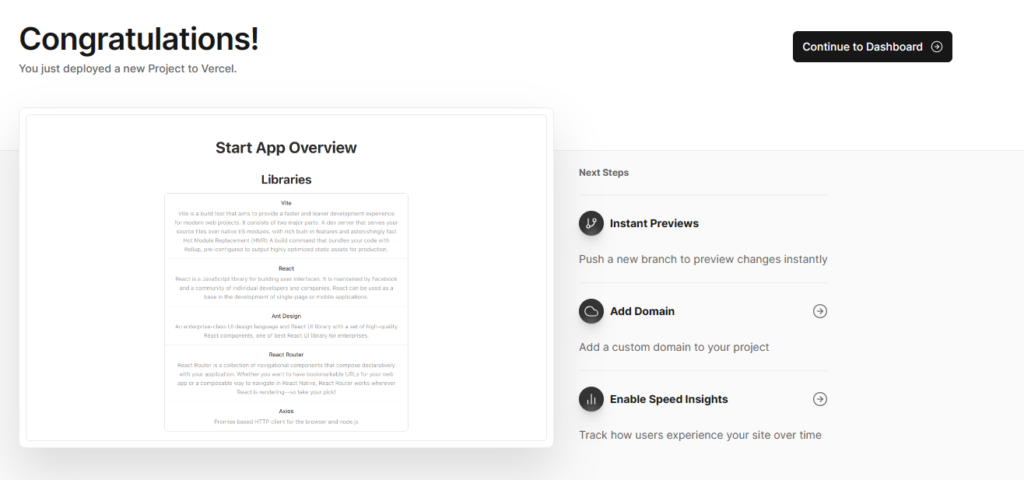
This sample application was small, so the build was almost instantaneous.
The hosted application is auto-assigned a URL and is available immediately: Liveable UI (liveable-mu.vercel.app)
The Project Dashboard has useful navigation options, such as:
- Build Logs
- Runtime Logs
- Links to various hosted domain URLs
Add Vercel Config
By default, Vercel will throw 404 error using React Router without any configuration. We need to tell Vercel that requests to all endpoints should be rendered by index.
{
  "rewrites":  [
    {"source": "/(.*)", "destination": "/"}
  ]
}
Tutorial Conclusion
Overall, creating a new Vercel account and deploying a React Application built using Vite could not be more simple. The default configurations worked flawlessly without modification (I can personally say this is rarely the case with application deployments!). For now, I wanted to see how quick/easy it’d be to get an application deployed — and the answer is ~5 minutes!
If you were following along, congratulations! You’ve successfully set up a React app with Vite and deployed it to Vercel. By using Vite’s fast development server and build process, and Vercel’s deployment process, you’ve created a powerful development workflow that can help you build and deploy React apps quickly and efficiently.
Of course, this is just the beginning. There’s a lot more you can do with Vite and Vercel such as, optimizing your build process, and setting up custom domains and SSL certificates for your Vercel deployment. But with the foundation you’ve built here, you’re well on your way to creating powerful, high-performance React apps that can scale to meet the needs of your users.
I hope you’ve found this tutorial helpful, and that you’re excited to explore the possibilities of Vite and Vercel further.